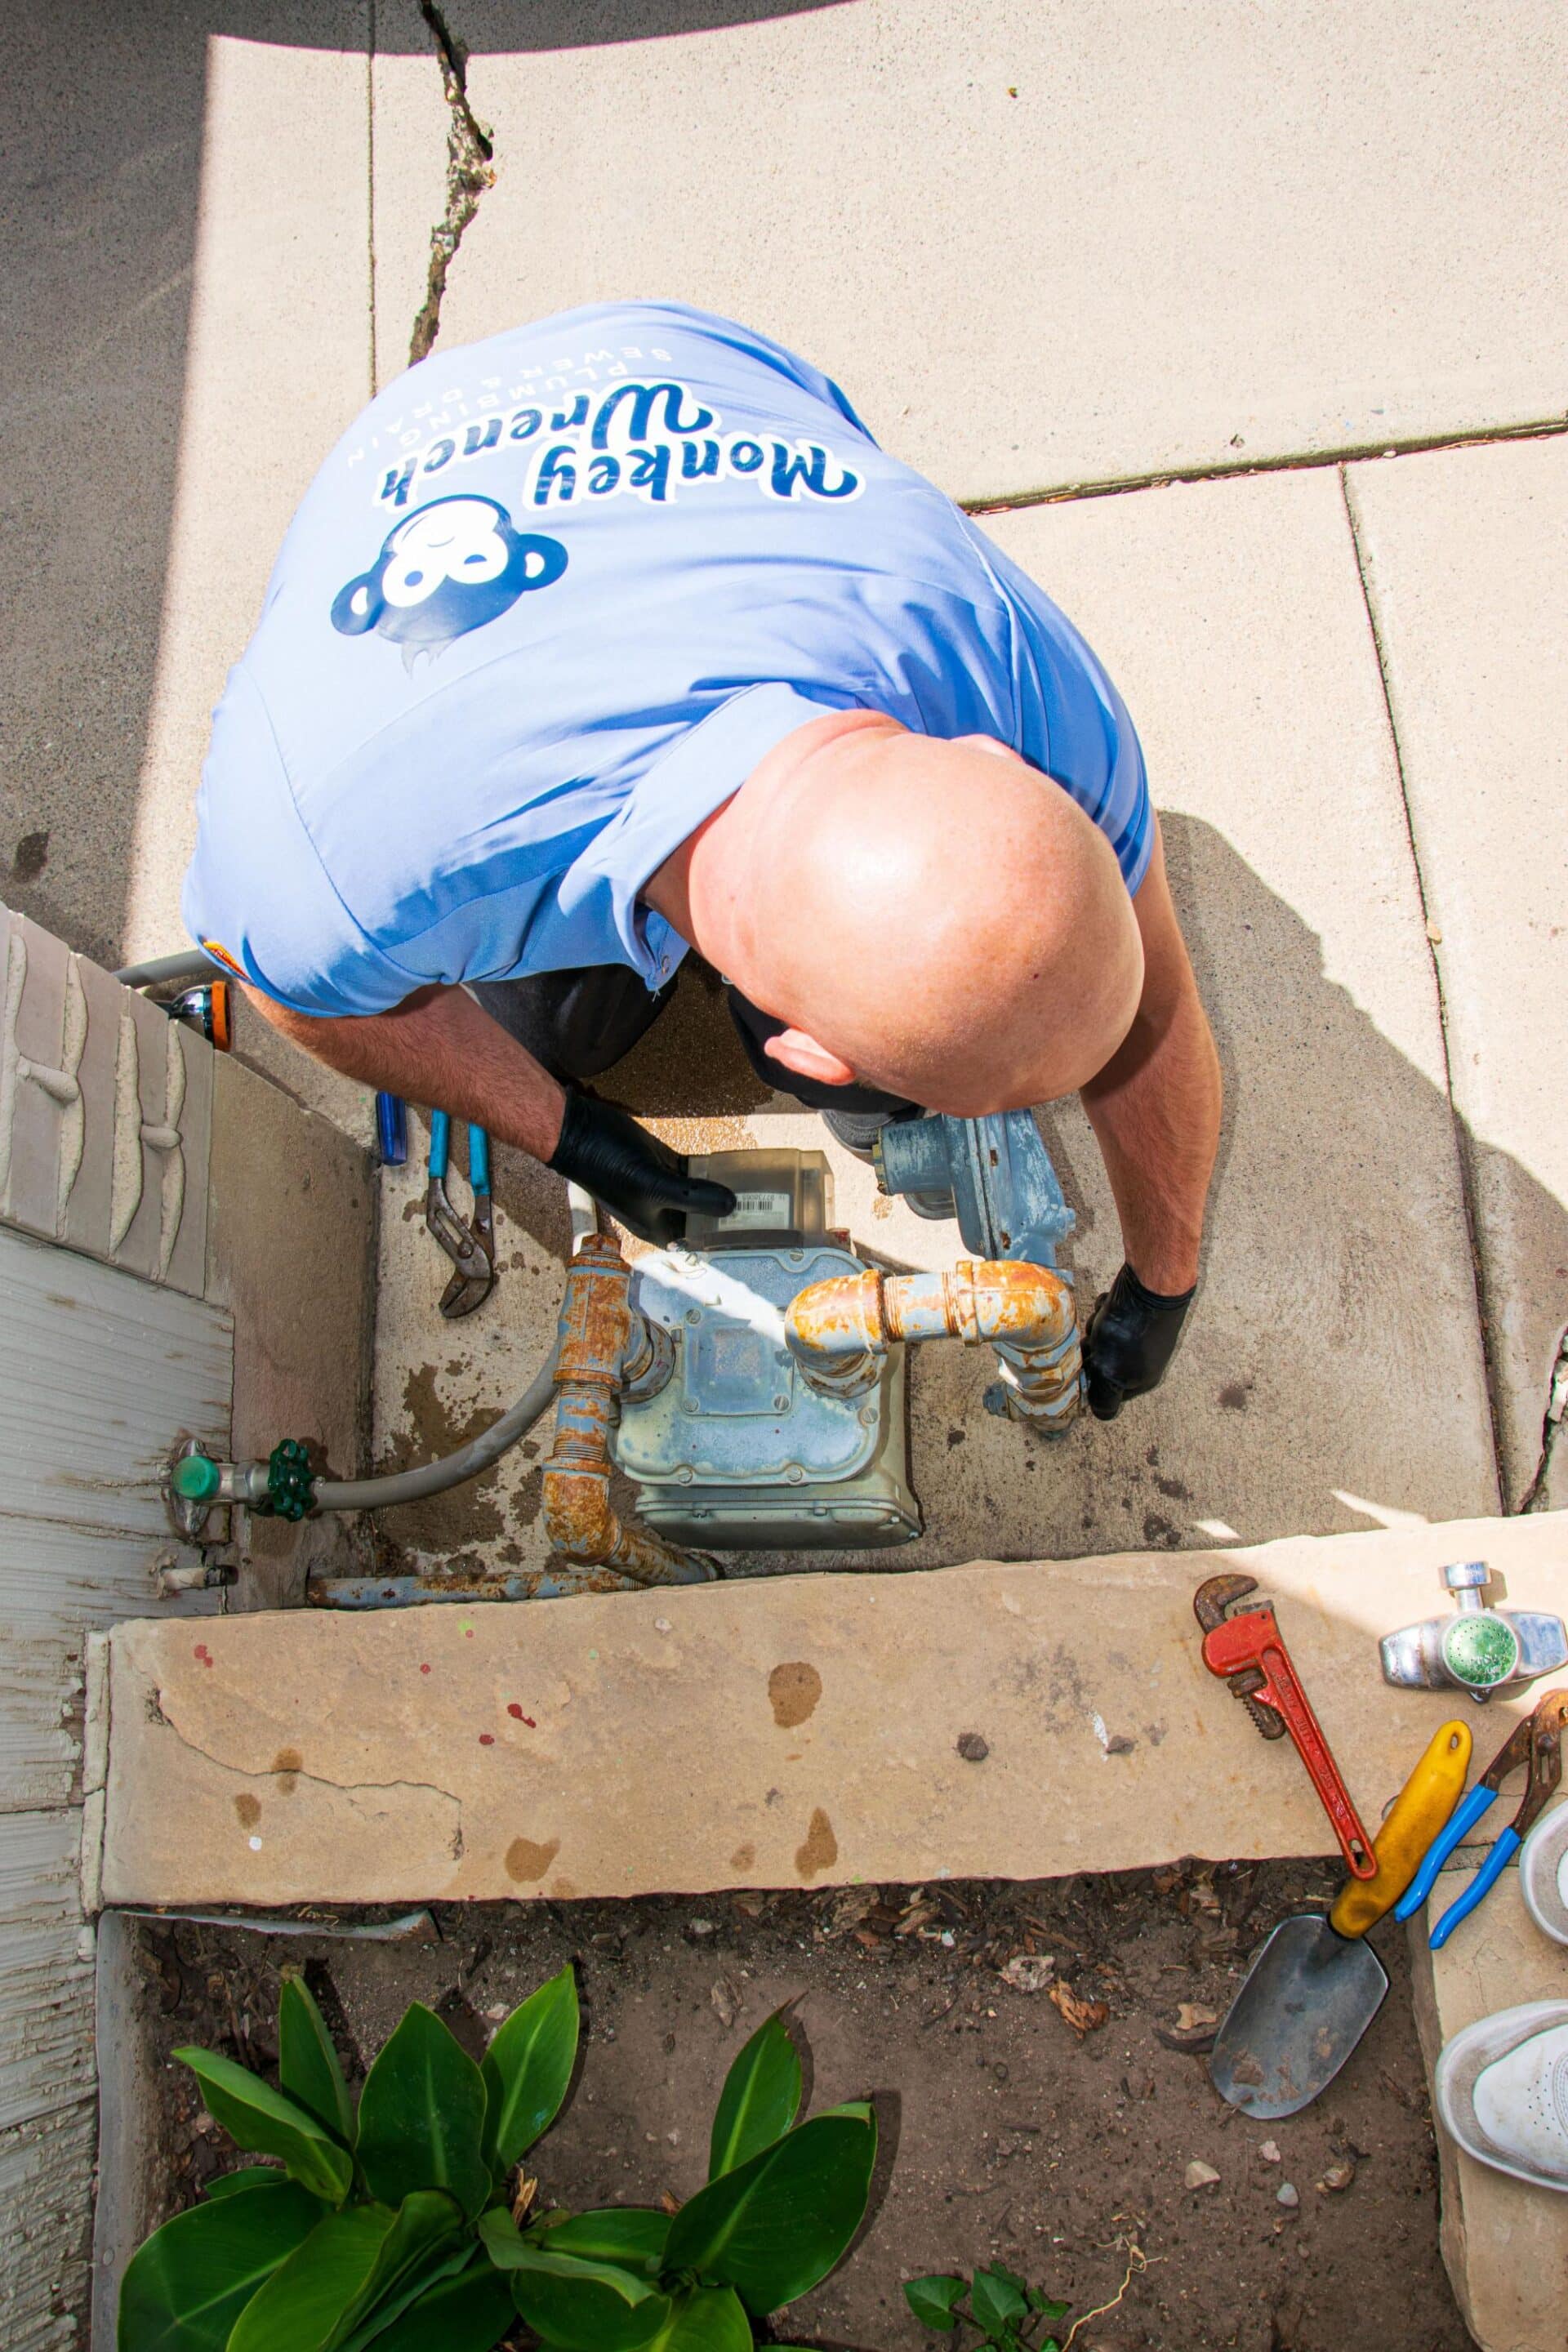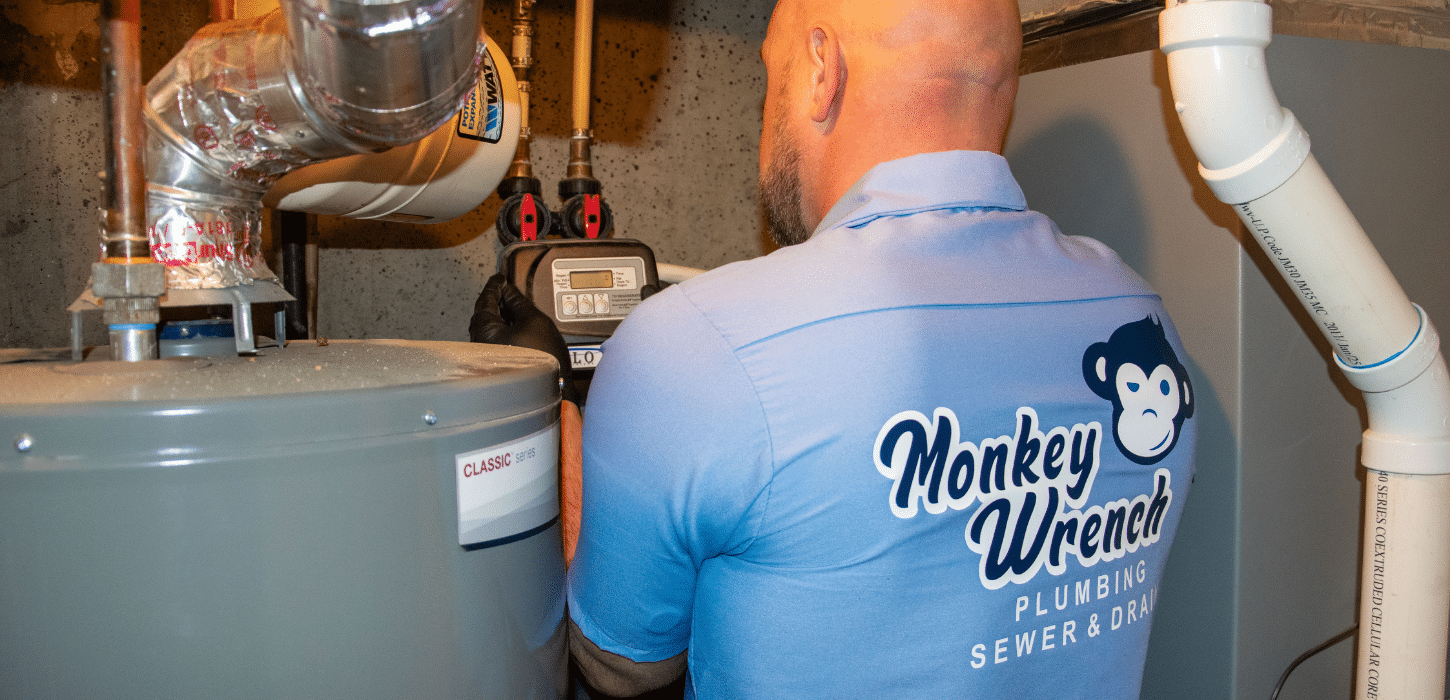
Let’s put an end to those pesky drippy faucets once and for all! In this step-by-step guide, we’ll show you how to change your faucet in Salt Lake City and bring some joy back into your everyday life.
Are you tired of constantly dealing with drippy faucets in your Salt Lake City home? Say goodbye to the annoyance and frustration with this step-by-step guide to changing your faucet. No more wasting time and money on repairs or calling a plumber. This guide will walk you through the process, making it easy and enjoyable. Get ready to have a beautiful and fully functioning faucet in no time!
Gathering the Necessary Tools and Materials
Before you start the process of changing your faucet in Salt Lake City, it is essential to gather all the necessary tools and materials. Here’s what you will need:
1. New Faucet – Choose a faucet that fits your bathroom or kitchen decor and fulfills your functional requirements.
2. Adjustable Wrench – This tool is necessary for loosening and tightening nuts and bolts.
3. Screwdriver – A screwdriver will be needed to remove screws and detach the old faucet.
4. Plumber’s Tape – Plumber’s tape, also known as Teflon tape, is used to create a watertight seal between threaded pipe joints.
5. Bucket or Towel – Have a bucket or towel ready to catch any water that may leak during the installation process.
These are the basic tools and materials required for changing your faucet. It is always a good idea to check the specific instructions provided with your new faucet to ensure you have all the necessary tools and materials.
Removing the Old Faucet
Once you have gathered all the tools and materials, it’s time to remove the old faucet. Follow these steps:
1. Turn Off the Water Supply – Locate the shut-off valves under the sink and turn them clockwise to shut off the water supply.
2. Disconnect Supply Lines – Use your adjustable wrench to disconnect the supply lines from the hot and cold water valves. Place a bucket or towel beneath the supply lines to catch any water that may spill out.
3. Remove the Faucet Handles – Use your screwdriver to remove any screws or nuts securing the faucet handles. Once the screws or nuts are removed, gently lift the handles off the faucet.
4. Loosen and Remove the Faucet – Locate the nuts securing the faucet to the sink or countertop. Use your adjustable wrench to loosen and remove these nuts. Once the nuts are removed, the old faucet should lift off easily.
Installing the New Faucet
Now that you have successfully removed the old faucet, it’s time to install the new one. Follow these steps:
1. Clean the Area – Before installing the new faucet, clean the sink or countertop surface to ensure it is free of debris and old plumber’s tape.
2. Apply Plumber’s Tape – Wrap plumber’s tape clockwise around the threaded ends of the water supply lines. This will create a watertight seal when connecting them to the new faucet.
3. Position the New Faucet – Carefully position the new faucet onto the sink or countertop, aligning the holes with the water supply lines.
4. Secure the Faucet – From beneath the sink or countertop, use your adjustable wrench to tighten the nuts securing the faucet in place. Make sure the faucet is stable and does not wobble.
5. Connect Water Supply Lines – Reconnect the hot and cold water supply lines to the corresponding valves. Use your adjustable wrench to tighten them securely.
6. Test for Leaks – Once everything is properly connected, turn on the water supply and check for any leaks. If you notice any leaks, tighten the relevant connections until they are watertight.
By following these steps, you can confidently change your faucet in Salt Lake City without the need for professional help. Remember to take your time and double-check all connections to ensure a successful installation. Enjoy your new, drip-free faucet and the ease it brings to your daily life!
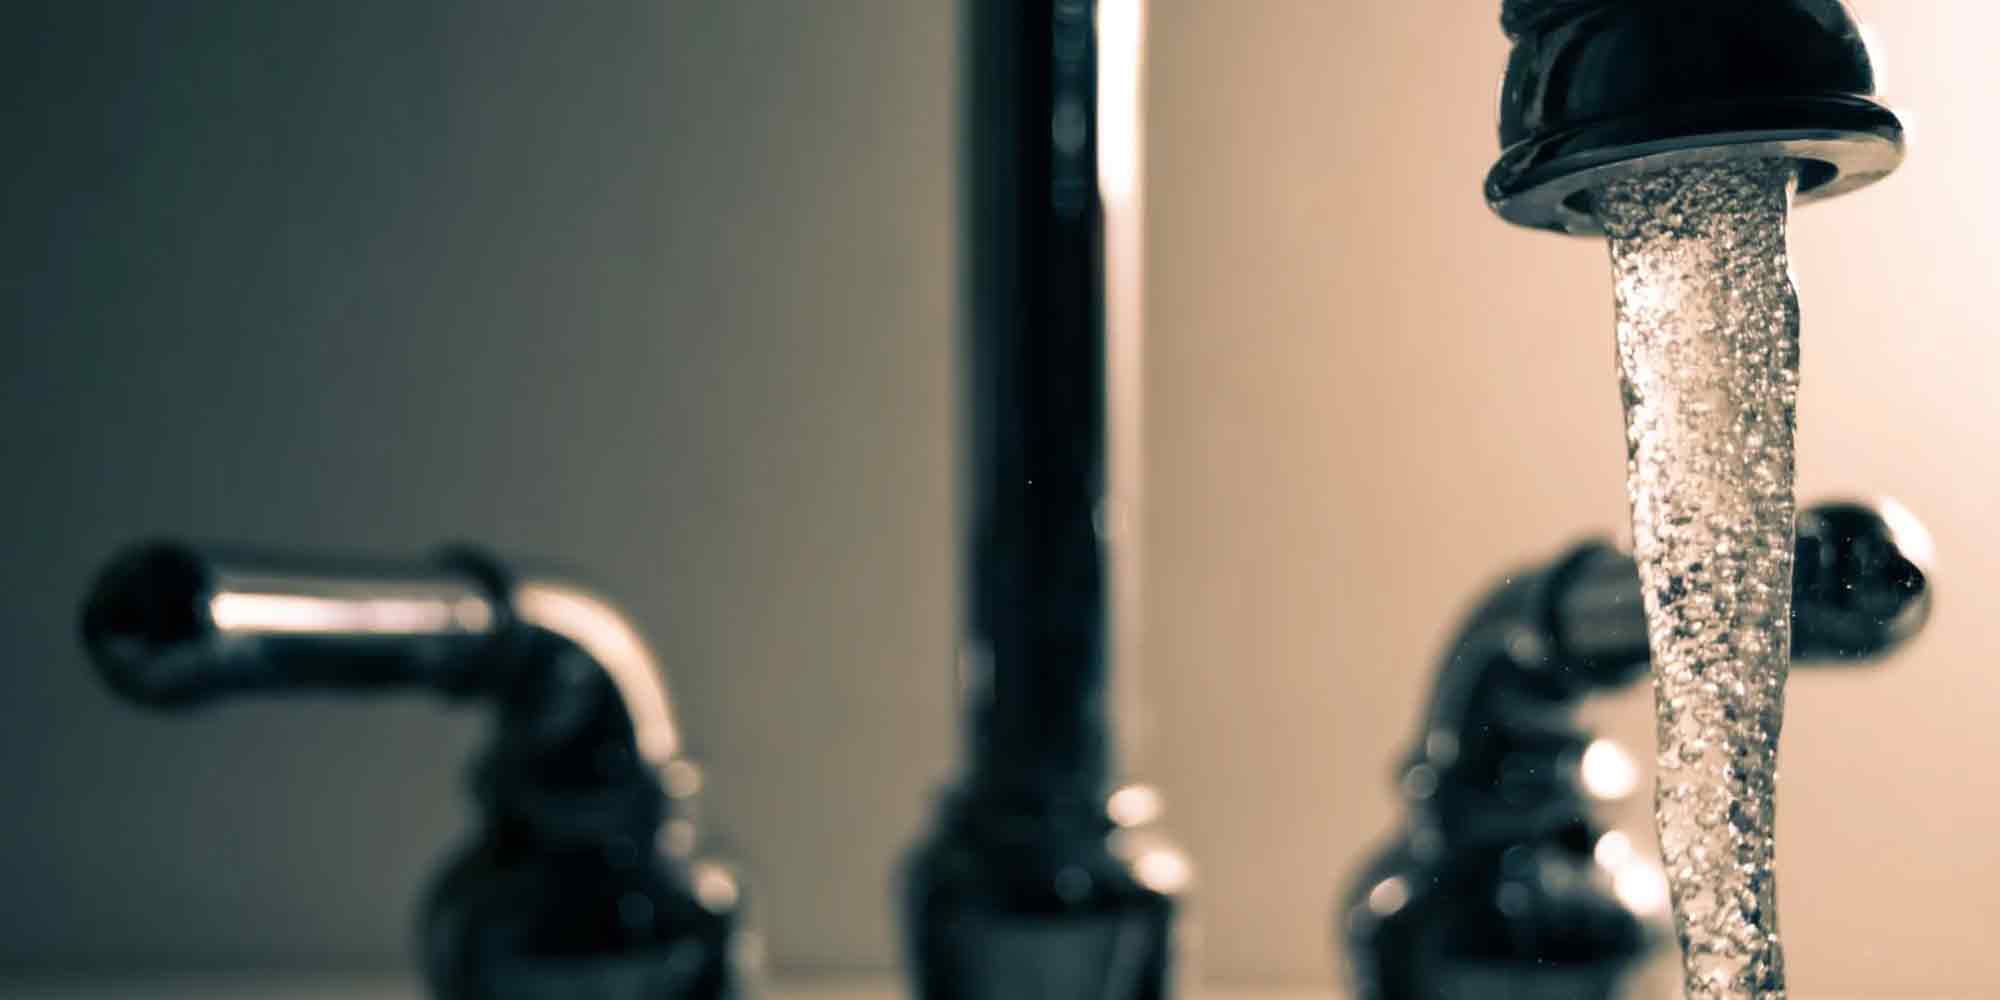
2. The annoyance of drippy faucets: We all know how irritating it can be to have a faucet that just won’t stop dripping. Not only does it waste water and add to your utility bill, but the constant sound of drip-drip-drip can drive even the calmest person up the wall.
Drippy faucets are a common annoyance in many households. The constant sound of drip-drip-drip can quickly become irritating, especially when you’re trying to relax or get a good night’s sleep. But did you know that a dripping faucet is not only annoying, but it can also waste a significant amount of water and add to your utility bill?
According to the Environmental Protection Agency (EPA), a faucet that drips at a rate of one drip per second can waste more than 3,000 gallons of water per year. That’s equivalent to 180 showers or the water needed to wash 300 loads of laundry! By addressing and fixing drippy faucets, not only can you save water and reduce your utility bill, but you can also contribute to water conservation efforts.
The annoyance of drippy faucets goes beyond the wasted water and added costs. The constant sound can be incredibly frustrating. It interrupts the peacefulness of your home and can even disrupt your sleep. Many people find it difficult to concentrate or relax when they hear that continuous drip-drip-drip sound. It can be particularly frustrating when you’re expecting a quiet and peaceful evening or when you’re trying to unwind after a long day.
Fortunately, fixing a drippy faucet is a relatively simple task that you can tackle on your own. With a few basic tools and materials, you can put an end to that annoying drip and enjoy the peace and quiet you deserve. Here’s a step-by-step guide to fixing a drippy faucet:
1. Turn off the water supply – Before you start any work on the faucet, make sure to turn off the water supply. Look for the shut-off valves under the sink and turn them clockwise to shut off the water flow.
2. Disassemble the faucet – Remove the handle of the faucet by unscrewing it or removing any decorative caps or covers. Depending on the type of faucet, you may need a wrench or pliers to remove the handle.
3. Replace the faulty parts – Once you have access to the inner workings of the faucet, identify the faulty parts that are causing the drip. Common culprits include worn-out washers, O-rings, or seals. Remove the old parts and replace them with new ones. It’s a good idea to bring the old parts to a hardware store to ensure you get the correct replacements.
4. Reassemble the faucet – Once you’ve replaced the faulty parts, carefully reassemble the faucet in the reverse order you disassembled it. Make sure all connections are tight and secure.
5. Turn on the water supply – Once everything is reassembled, turn on the water supply and check for any leaks. If you notice any leaks, tighten the connections further until they are watertight.
By following these steps, you can put an end to the annoyance of drippy faucets and enjoy a peaceful and quiet home. Remember, addressing drippy faucets is not only about personal comfort, but it’s also an important step towards water conservation and reducing your utility bill. So, don’t let that constant drip-drip-drip drive you up the wall. Take action, fix your drippy faucet, and enjoy a quieter and more efficient household.
Common Mistakes to Avoid When Changing Your Faucet
3. Gather your tools and materials: Before you can say goodbye to the drips, you’ll need to gather a few essential tools and materials. Don’t worry, though, they’re all easily accessible and won’t break the bank.
Tools and Materials Needed for Faucet Replacement
Before you start the process of changing your faucet, it’s important to gather all the necessary tools and materials. By having everything on hand, you’ll be prepared and ready to complete the task without any delays.
Here are the essential tools and materials you will need for changing your faucet:
1. Adjustable Wrench: An adjustable wrench is a must-have tool for any plumbing project. It allows you to tighten or loosen nuts and bolts of various sizes, making it perfect for removing the old faucet and installing the new one.
2. Screwdriver: Depending on the type of faucet you have, you may need a Phillips or flathead screwdriver. This tool will come in handy for removing any screws or fasteners that are holding the faucet in place.
3. Basin Wrench: A basin wrench is specifically designed to reach and tighten or loosen nuts in tight spaces. It has a long handle with a pivoting jaw, making it ideal for removing and installing faucet nuts located under the sink.
4. Plumber’s Putty or Caulk: Plumber’s putty or caulk is used to create a watertight seal between the sink and the new faucet. This prevents any leaks or drips from occurring after installation. Choose a high-quality putty or caulk that is specifically designed for plumbing applications.
5. Replacement Faucet: Of course, you’ll need a new faucet to replace the old one. Make sure to choose a faucet that matches your sink and meets your specific needs and preferences. Consider factors such as style, finish, and functionality when selecting a replacement faucet.
6. Supply Lines: The supply lines are responsible for delivering water to your faucet. Check the length and type of supply lines needed for your specific faucet and purchase them accordingly. It’s always a good idea to replace the old supply lines with new ones to ensure maximum reliability.
7. Towels or Rags: Plumbing projects can get messy, so it’s important to have some towels or rags on hand to clean up any water spills or drips. Additionally, you can use them to protect the sink and surrounding areas during the faucet replacement process.
By gathering these essential tools and materials before starting the faucet replacement, you’ll save yourself time and avoid any last-minute trips to the hardware store. With everything ready, you can confidently say goodbye to those drippy faucets and enjoy the benefits of a brand new, fully functional faucet in your Salt Lake City home.
Step-by-Step Guide to Changing Your Faucet in Salt Lake City
Now that you have gatherer all the necessary tools and materials for changing your faucet, it’s time to dive into the step-by-step process. Follow these instructions to successfully replace your faucet and say goodbye to those pesky drips!
Step 1: Prepare the work area
Before starting the replacement process, it’s important to prepare the work area. Clear out any items from under the sink to create a spacious and clutter-free workspace. This will give you better access to the plumbing and make the process much easier.
Step 2: Turn off the water supply
Locate the shut-off valves under the sink and turn them clockwise to shut off the water supply. This step is crucial to prevent any water leaks or accidents during the installation process. Once the valves are closed, turn on the faucet to drain any remaining water in the lines.
Step 3: Remove the old faucet
Using your adjustable wrench, loosen and disconnect the water supply lines from the old faucet. Be prepared for some water drainage during this step. Next, use your screwdriver to remove any screws or fasteners that are holding the faucet in place. Once all connections and fasteners are detached, carefully lift out the old faucet and set it aside.
Step 4: Clean the sink surface
With the old faucet removed, thoroughly clean the sink surface to remove any residue or debris. Wipe down the area with a damp cloth or sponge, ensuring a clean and smooth surface for the installation of the new faucet.
Step 5: Apply plumber’s putty or caulk
Take your plumber’s putty or caulk and apply a thin and even layer around the base of the new faucet. This will create a watertight seal between the sink and the faucet, preventing any leaks in the future.
Step 6: Install the new faucet
Carefully lower the new faucet into the mounting holes on the sink, ensuring a snug fit. Align the faucet properly and secure it in place using the appropriate screws or fasteners. Use your basin wrench to tighten the nuts underneath the sink, providing stability and preventing any wobbling.
Step 7: Connect the water supply lines
Attach the water supply lines to the corresponding hot and cold water connections on the new faucet. Ensure a secure and leak-free connection by tightening the nuts with your adjustable wrench. Double-check all connections to make sure they are properly tightened and aligned.
Step 8: Turn on the water supply
Once all connections are in place, turn the shut-off valves counterclockwise to restore the water supply. Slowly turn on the new faucet and check for any leaks or drips. If any issues arise, tighten the connections as needed until the leaks are resolved.
Step 9: Clean up and test the new faucet
Clean up any water spills or drips using the towels or rags you prepared earlier. Test the new faucet by running both hot and cold water to ensure it is functioning properly. Check for any irregularities or leaks during this test phase.
Congratulations! You have successfully changed your faucet in Salt Lake City. Enjoy the benefits of a fully functional faucet and say goodbye to those drips for good. If you encounter any difficulties during the process, it is always recommended to consult a professional plumber for assistance.
4. Step 1: Turn off the water supply: Safety first! The first step in changing your faucet is to turn off the water supply. This will prevent any accidents or water damage while you’re working.
Step 1: Turn off the water supply: Safety First!
Before you begin the process of changing your faucet, it is crucial to prioritize safety by turning off the water supply. This step is vital in preventing any accidents or water damage while you are working on the installation.
Locating the shut-off valves under the sink is the first task at hand. These valves control the flow of water to the faucet. Once you have located the valves, turn them clockwise to shut off the water supply. It is essential to ensure that the valves are fully closed to avoid any potential leaks or water-related mishaps during the installation process.
After you have successfully turned off the water supply, it is recommended to turn on the faucet to drain any remaining water in the lines. This step will help minimize any residual water that may be present in the plumbing system.
By taking the necessary precaution of turning off the water supply, you are ensuring a safe and hassle-free environment to proceed with the faucet replacement. Remember, safety should always be the first priority when undertaking any home improvement project.
Step 2: Gather the Necessary Tools and Materials
. Step 2: Remove the old faucet: Now it’s time to bid farewell to that outdated, leaky faucet. Follow our simple instructions to safely remove the old faucet and make room for a shiny new replacement.
5. Step 2: Remove the old faucet
Now that you have gathered all the necessary tools and materials, it’s time to bid farewell to that outdated, leaky faucet. Removing the old faucet may seem daunting, but with our simple instructions, you’ll be able to safely remove it and make room for a shiny new replacement.
Before you begin, make sure to turn off the water supply to the faucet. Look for the shut-off valves under the sink and turn them clockwise to shut off the water flow. Once the water is turned off, relieve any remaining pressure by turning on the faucet and letting the water run until it stops.
Now, follow these steps to remove the old faucet:
1. Clear the workspace: Remove any items from under the sink to create space and make it easier to work. Place a towel or bucket under the sink to catch any water that may leak during the process.
2. Disconnect the supply lines: Using an adjustable wrench, loosen the nuts connecting the supply lines to the faucet. Hold the supply lines with one hand to prevent any excessive movement. Once loose, carefully remove the supply lines and allow any excess water to drain into the towel or bucket.
3. Remove the mounting nuts: Locate the mounting nuts that secure the faucet to the sink. These nuts are usually located beneath the sink and can be detached using an adjustable wrench or pliers. Turn the nuts counterclockwise to loosen and remove them.
4. Remove the old faucet: With the mounting nuts removed, you should be able to lift the old faucet off the sink. Gently wiggle it back and forth if it feels stuck. Take care not to damage any plumbing connections or the sink itself during this process.
5. Clean the sink surface: Once the old faucet is removed, use a mild cleaner or vinegar solution to clean the sink surface. Remove any residue or old caulk, ensuring a clean and smooth base for the new faucet installation.
With the old faucet successfully removed, you are now ready to install your new, shiny faucet. Refer to the manufacturer’s instructions for your specific faucet model and continue with the next steps.
Remember, if you’re unsure or uncomfortable with any step of the process, it’s always best to consult a professional plumber. They can ensure a smooth and hassle-free faucet replacement, saving you time and potential headaches.
https://unsplash.com/@framesforyourheart
Installing Your New Faucet: Step-by-Step Guide
Now that you have successfully removed the old faucet, it’s time to install your new, shiny faucet. Follow these step-by-step instructions to ensure a smooth and hassle-free installation process:
1. Read the manufacturer’s instructions: Before you begin the installation, carefully read through the manufacturer’s instructions that came with your new faucet. Each faucet model may have specific requirements and steps for installation.
2. Gather the necessary tools and materials: Make sure you have all the tools and materials required for the installation. This may include an adjustable wrench, pliers, Teflon tape, caulking gun, plumber’s putty, and a bucket or towel to catch any water.
3. Prepare the sink: Clean the sink surface thoroughly to remove any residue or old caulk from the previous faucet. Ensure that the surface is dry and smooth before proceeding with the installation.
4. Apply plumber’s putty or sealant (if required): Some faucets may require the use of plumber’s putty or sealant to create a watertight seal between the faucet and the sink. Follow the manufacturer’s instructions to apply the putty or sealant correctly.
5. Position the new faucet: Carefully position the new faucet on the sink, aligning it with the mounting holes. Take note of any gaskets or washers that need to be placed between the faucet and the sink for proper sealing.
6. Secure the faucet: From under the sink, thread the mounting nuts onto the faucet’s tailpieces. Use an adjustable wrench or pliers to tighten the nuts securely. Be careful not to overtighten, as this may damage the faucet or the sink.
7. Connect the supply lines: Attach the supply lines to the corresponding hot and cold water connections on the faucet. Use an adjustable wrench to tighten the connections, ensuring a snug fit. Make sure not to cross-thread or overtighten the connections.
8. Turn on the water supply: Once the faucet is securely installed, turn on the water supply by turning the shut-off valves counterclockwise. Check for any leaks around the faucet and supply line connections. If you notice any leaks, tighten the connections further or consult a professional plumber for assistance.
9. Test the faucet: Turn on the faucet and check for proper water flow and temperature control. Run both hot and cold water to ensure that the faucet is functioning correctly. Make any necessary adjustments if the water flow or temperature is not as desired.
10. Apply caulking (if required): If instructed by the manufacturer, use a caulking gun to apply a bead of caulk around the base of the faucet. This helps to create a watertight seal and gives a finished look to the installation.
Congratulations! You have successfully installed your new faucet. Enjoy the improved functionality and aesthetic appeal it brings to your kitchen or bathroom.
https://unsplash.com/@ashtonbingham
6. Step 3: Install the new faucet: It’s finally time for the fun part – installing your brand-new faucet! With our user-friendly guide, you’ll have your new faucet up and running in no time.
Installing Your New Faucet: Step-by-Step Guide
It’s finally time for the fun part – installing your brand-new faucet! With our user-friendly guide, you’ll have your new faucet up and running in no time. Here are the step-by-step instructions to ensure a smooth and hassle-free installation process:
Step 1: Read the manufacturer’s instructions
Before you begin the installation, carefully read through the manufacturer’s instructions that came with your new faucet. Each faucet model may have specific requirements and steps for installation. Familiarize yourself with the instructions to ensure you have all the necessary tools and materials.
Step 2: Gather the necessary tools and materials
Make sure you have all the tools and materials required for the installation. This may include an adjustable wrench, pliers, Teflon tape, caulking gun, plumber’s putty, and a bucket or towel to catch any water. Having everything you need within reach will make the installation process much smoother.
Step 3: Prepare the sink
Clean the sink surface thoroughly to remove any residue or old caulk from the previous faucet. Ensure that the surface is dry and smooth before proceeding with the installation. A clean sink surface will provide a better seal and ensure the longevity of your new faucet.
Step 4: Apply plumber’s putty or sealant (if required)
Some faucets may require the use of plumber’s putty or sealant to create a watertight seal between the faucet and the sink. Follow the manufacturer’s instructions to apply the putty or sealant correctly. This step is crucial for preventing any leaks around the faucet.
Step 5: Position the new faucet
Carefully position the new faucet on the sink, aligning it with the mounting holes. Take note of any gaskets or washers that need to be placed between the faucet and the sink for proper sealing. Ensuring proper alignment will guarantee a secure and stable installation.
Step 6: Secure the faucet
From under the sink, thread the mounting nuts onto the faucet’s tailpieces. Use an adjustable wrench or pliers to tighten the nuts securely. Be careful not to overtighten, as this may damage the faucet or the sink. Double-check the stability of the faucet to ensure it is securely fastened.
Step 7: Connect the supply lines
Attach the supply lines to the corresponding hot and cold water connections on the faucet. Use an adjustable wrench to tighten the connections, ensuring a snug fit. Make sure not to cross-thread or overtighten the connections, as this can lead to leaks or damage.
Step 8: Turn on the water supply
Once the faucet is securely installed, turn on the water supply by turning the shut-off valves counterclockwise. Check for any leaks around the faucet and supply line connections. If you notice any leaks, tighten the connections further or consult a professional plumber for assistance.
Step 9: Test the faucet
Turn on the faucet and check for proper water flow and temperature control. Run both hot and cold water to ensure that the faucet is functioning correctly. Make any necessary adjustments if the water flow or temperature is not as desired. This step ensures the functionality of your new faucet.
Step 10: Apply caulking (if required)
If instructed by the manufacturer, use a caulking gun to apply a bead of caulk around the base of the faucet. This helps to create a watertight seal and gives a finished look to the installation. Follow the manufacturer’s recommendations for the type of caulk to use and the application process.
Congratulations! You have successfully installed your new faucet. Enjoy the improved functionality and aesthetic appeal it brings to your kitchen or bathroom.
Common Faucet Installation Mistakes to Avoid
Installing a new faucet can be an exciting and rewarding project. However, it’s important to be aware of common mistakes that can occur during the installation process. By avoiding these mistakes, you can ensure a successful and hassle-free installation. Here are some common faucet installation mistakes to avoid:
1. Neglecting to read the manufacturer’s instructions: One of the biggest mistakes you can make is not taking the time to thoroughly read and understand the manufacturer’s instructions. Each faucet model may have specific requirements and steps for installation. Familiarizing yourself with the instructions will ensure that you have all the necessary tools and materials and will help you avoid any potential problems.
2. Failing to properly prepare the sink: Before installing the new faucet, it’s crucial to thoroughly clean the sink surface and remove any residue or old caulk from the previous faucet. This will ensure a better seal and prevent any leaks in the future. Take the time to dry the surface properly to ensure a smooth installation.
3. Over-tightening or under-tightening the mounting nuts: When securing the faucet to the sink, it’s important to tighten the mounting nuts appropriately. Over-tightening can cause damage to the faucet or sink, while under-tightening can lead to instability. Use an adjustable wrench or pliers to tighten the nuts securely, being careful not to overtighten.
4. Incorrectly connecting the supply lines: The supply lines must be attached to the corresponding hot and cold water connections on the faucet. Make sure to use an adjustable wrench to tighten the connections properly, ensuring a snug fit. Be cautious not to cross-thread or overtighten the connections, as this can result in leaks or damage.
5. Forgetting to test the faucet: After the installation is complete, it’s crucial to test the faucet for proper water flow and temperature control. Run both hot and cold water to check for any issues. If you notice any problems, such as low water flow or improper temperature, make the necessary adjustments or consult a professional plumber for assistance.
6. Not applying caulking (if required): Some faucets may require the application of caulk around the base to create a watertight seal and give a finished look to the installation. If instructed by the manufacturer, use a caulking gun to apply a bead of caulk according to their recommendations. This will help prevent any water leaks and ensure a professional-looking installation.
By avoiding these common mistakes, you can successfully install your new faucet and enjoy its improved functionality and aesthetic appeal. Remember to follow the manufacturer’s instructions, properly prepare the sink, tighten the mounting nuts securely, connect the supply lines correctly, test the faucet, and apply caulking if required. With these steps, you can ensure a smooth and problem-free faucet installation.
7. Step 4: Test and enjoy: The hard work is done, and now it’s time to bask in the glory of your drip-free oasis. Test your new faucet, let out a happy sigh, and revel in the satisfaction of a job well done.
Step 4: Test and enjoy: The hard work is done, and now it’s time to bask in the glory of your drip-free oasis. Test your new faucet, let out a happy sigh, and revel in the satisfaction of a job well done.
After successfully installing your new faucet, it’s important to ensure that it functions properly before considering the job complete. Testing the faucet will allow you to identify any potential issues and make necessary adjustments, ensuring that you can enjoy your new fixture without any concerns. Follow these steps to test and ensure the proper functioning of your newly installed faucet:
1. Run both hot and cold water: Turn on the faucet and let both hot and cold water flow. Take note of the water pressure and temperature. Ensure that the water flows smoothly without any blockages or leaks.
2. Check for leaks: Pay close attention to the base of the faucet, the supply lines, and the connections. Look for any signs of water leakage. If you notice any leaks, you may need to tighten the connections or consult a professional plumber for assistance.
3. Adjust water flow and temperature: Test the faucet’s handle or knobs to adjust the water flow and temperature. Ensure that the handle moves smoothly and that you can easily control the water flow and temperature to your preference.
4. Evaluate functionality: Use the faucet as you normally would to evaluate its functionality. Test different water pressure settings, adjust the temperature to hot and cold extremes, and check if the faucet aerator is working properly. This will help you identify any potential issues and ensure that the faucet meets your needs and expectations.
5. Make necessary adjustments: If you encounter any problems during the testing process, make the necessary adjustments. This may include tightening loose connections, adjusting water flow restrictors, or replacing faulty parts. Addressing these issues promptly will help ensure the long-term functionality and durability of your faucet.
6. Enjoy your drip-free oasis: Once you have tested the faucet and confirmed its proper functioning, take a moment to appreciate your hard work. Enjoy the improved functionality, aesthetics, and convenience that your new faucet brings to your everyday life. Whether it’s a sleek, modern design or a classic, timeless fixture, your new faucet is sure to enhance your kitchen or bathroom space.
By following these steps and thoroughly testing your newly installed faucet, you can ensure that it functions properly and meets your expectations. Taking the time to test and enjoy your faucet will provide you with peace of mind, knowing that your installation was successful and that you have a reliable, drip-free fixture for years to come. So go ahead, turn on the water, admire your handiwork, and revel in the satisfaction of a job well done.
Common Faucet Issues to Look Out For
While changing your faucet can provide a much-needed upgrade to your kitchen or bathroom, it’s important to be aware of common faucet issues that may arise. Being proactive in identifying and addressing these issues can help maintain the functionality and longevity of your faucet. Here are some common faucet issues to look out for:
1. Dripping or Leaking: One of the most common faucet issues is a persistent drip or leak. This not only wastes water but can also lead to water damage if left unattended. Check for any signs of dripping or leaking around the base of the faucet or from the handles. This may indicate the need to replace worn-out washers or seals.
2. Low Water Pressure: If you notice a decrease in water pressure from your faucet, it could be due to a clogged aerator or a problem with the water supply line. Remove the aerator and clean out any debris or mineral deposits that may be obstructing the flow. If the water pressure issue persists, it may be necessary to consult a professional plumber.
3. Inconsistent Temperature: If your faucet is producing water that is either too hot or too cold, it could be a problem with the mixing valve or cartridge. These components regulate the temperature of the water and may need to be replaced if they are not functioning properly.
4. Loose or Wobbly Handle: A loose or wobbly handle can be frustrating and may indicate loose screws or worn-out parts. Tighten any loose screws or consider replacing the handle if necessary to ensure smooth operation.
5. Rust or Corrosion: Over time, faucets may develop rust or corrosion, especially in areas with hard water. Regular cleaning and maintenance can help prevent this issue. If rust or corrosion is severe, it may be necessary to replace the faucet altogether.
By being aware of these common faucet issues, you can take proactive steps to address them and ensure the optimal performance of your faucet. Regular maintenance, such as cleaning the aerator and checking for leaks, can help prevent these issues from occurring. However, if you encounter persistent or more complex problems, don’t hesitate to seek professional assistance to ensure a proper resolution.
8. Conclusion: Congratulations on successfully changing your faucet and bidding farewell to those pesky drips! With our handy guide, you can now enjoy a more peaceful and efficient home in Salt Lake City. Say hello to smooth flowing water and goodbye to drippy faucets once and for all!
In conclusion, changing your faucet can provide a significant upgrade to your kitchen or bathroom. By being proactive in identifying and addressing common faucet issues such as dripping or leaking, low water pressure, inconsistent temperature, loose or wobbly handles, and rust or corrosion, you can ensure the optimal performance and longevity of your faucet.
Regular maintenance, such as cleaning the aerator and checking for leaks, is essential to prevent these issues from occurring. However, if you encounter persistent or more complex problems, it is advisable to seek professional assistance to ensure a proper resolution.
Congratulations on successfully changing your faucet and bidding farewell to those pesky drips! With the help of our handy guide, you can now enjoy a more peaceful and efficient home in Salt Lake City. Say hello to smooth flowing water and goodbye to drippy faucets once and for all!